Go back

The Little People's Princess! Captive Mansherry!
Episode number: 693
Overview: Franky finally makes it into the factory and the Tontattas are reunited with their captive friends! But Princess Mansherry is nowhere to be found. Factory manager Kuween becomes irate when ignored and launches an attack on Franky while Señor Pink, wise to Frankie's deception, arrives on the scene ready for a manly showdown!

Invincible! A Gruesome Army of Headcracker Dolls!
Episode number: 694
Overview: Robin, Rebecca, and Bartolomeo draw closer to the Flower Field on the fourth level of the Royal Palace plateau, but a sudden attack by Gladius' exploding spheres sends Robin and Bartolomeo hurtling towards the level below - and directly into Luffy and the others' battle with the creepy Headcracker Dolls!
Risking Their Lives! Luffy is the Trump Card for Victory!
Episode number: 695
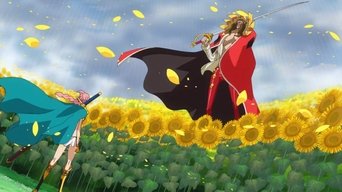
Overview: Rebecca makes it to the Flower Field alone, but unfortunately finds company there that is less than friendly! Meanwhile, Bartolomeo pushes himself to the limit in order to help Luffy advance, but does he leave himself vulnerable in the process? Meanwhile, Sabo tastes Fujitora's full might!
A Tearful Reunion! Rebecca and Kyros!
Episode number: 696
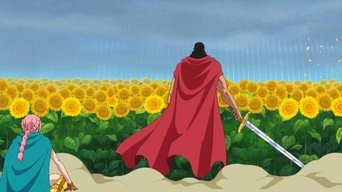
Overview: Diamante has Rebecca pinned and completely overpowered. If only the Soldier-san of her youth were able to protect her! Meanwhile, Luffy and Law finally surmount incredible odds to land themselves in striking distance of Doflamingo -- but Sugar stands in their way!

One Shot One Kill! The Man Who Will Save Dressrosa!
Episode number: 697
Overview: Usopp uses Viola's Clairvoyance to prepare his ammunition to take Sugar out! But the slightest hesitation now will spell disaster -- and the end of Luffy! Luckily for the Straw Hats, Usopp's ammunition has been specially designed for this specific situation!
Anger Erupts! Luffy and Law's Ultimate Stratagem!
Episode number: 698
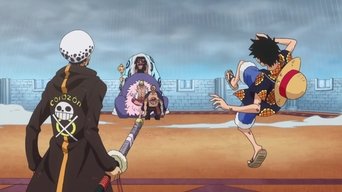
Overview: The final showdown with Doflamingo begins, but the Warlord still has several tricks up his sleeve - including turning one of Luffy's own friends against him! Meanwhile Franky and Señor Pink are in a standoff to find out who is the coolest.

A Noble Family! The True Identity of Doflamingo!
Episode number: 699
Overview: All hopes rest on Luffy and Law being able to take down Doflamingo; but the Warlord has other plans in mind as he gives the two the fight of their lives, and reveals his true, shocking history! Meanwhile, Sabo finds out Fujitora’s true intention…

The Ultimate Power! The Secret of the Op-Op Fruit!
Episode number: 700
Overview: With Fujitora's stalemate arousing suspicion in the Navy ranks, Law and Luffy stand seconds away from execution at the hand of Doflamingo! But before he dispatches them both, he shares the secret of his sway over the Celestial Dragons!
Sad Memories! Law the Boy from the White Town!
Episode number: 701
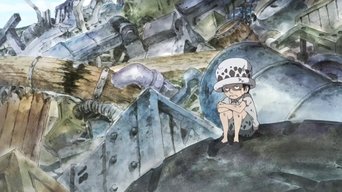
Overview: The horrible secret of Flevance, the White Town, is revealed, giving clues to Law's traumatic past! A rage born from the lies of the World Government created a child who had the will to kill Corazon!
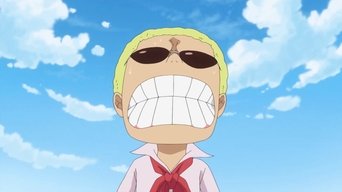
A Celestial Dragon! Doffy's Stormy Past
Episode number: 702
Overview: Law's attack on Corazon looks less successful than he thought! And after he's accepted into the Doflamingo Family, Corazon's mysterious silence hides a fact that may save Law's life - and a hidden danger Law must face in Doflamingo himself!
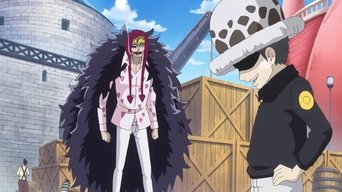
A Rocky Road! Law and Corazon's Journey of Life!
Episode number: 703
Overview: Things grow stranger for Law as he learns the secret behind why Corazon feigns being mute! But the mysterious Corazon's actions are only beginning to baffle Law as he takes him on a journey to cure his White Lead Disease.

The Time is Ticking Down! Seize the Op-Op Fruit!
Episode number: 704
Overview: Corazon's double-dealing with the Navy raises suspicions both with Doflamingo and Law. But all that is secondary as Corazon finally has a chance to grab the Op-Op Fruit during a staged handoff arranged by the Government.

The Moment of Resolution! Corazon's Farewell Smile!
Episode number: 705
Overview: The Op-Op Fruit is in Corazon's hands! But the price he paid to get it might be too high... When Law goes for help, unfortunate coincidences intervene and leave the two vulnerable! Meanwhile, Doflamingo and his clan finally land at Minion Island; the location of Corazon and Law!

Advance, Law! The Kindhearted Man's Final Fight!
Episode number: 706
Overview: Doflamingo and his Family begin to zero in on Corazon and Law's whereabouts, but Corazon has a plan to hide Law long enough to let him escape - even if that means sacrificing his own life. However, when things turn sour, it's a chain of lucky coincidences that allows the plan to be set into motion - almost as though someone or something is keeping Law alive!
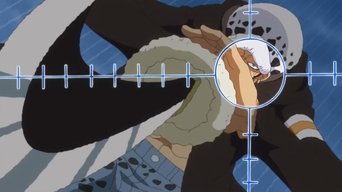
To Be Free! Law's Injection Shot Blasts!
Episode number: 707
Overview: Violet runs down the status of the open battles raging in Dressrosa - the Straw Hats, the Tontattas, the executives of the Doflamingo Family - all of them clash around the island, but it's Law's revelation to Doflamingo that moves the action forward!

An Intense Battle! Law vs. Doflamingo!
Episode number: 708
Overview: Luffy continues to battle Fake-mingo, but keeps accidentally battling Bellamy instead. Meanwhile the tide of battle turns against Law as painful scars from the past resurface. And Zoro gets unexpected help in his battle with Pica.
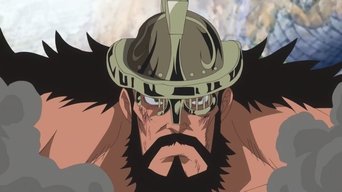
A Decisive Battle Against the Executives! Proud Hajrudin!
Episode number: 709
Overview: Bellamy escapes Doflamingo's control, but it might be too late. His long history with Doflamingo unfolds and leads to an inglorious end. Meanwhile, Hajrudin has been beaten down, but a fire still burns in him to pay back the favor he owes!
The Battle of Love! The New Leader Sai vs. Baby 5!
Episode number: 710
Overview: Lao G and Don Chinjao duke it out as each brings their most devastating attacks to the battle. But a misunderstanding caused by Baby 5 has Sai and Don Chinjao distracted - are they distracted enough for Lao G to gain the upper hand?
The Man's Pride! Bellamy's Last Charge!
Episode number: 711
Overview: Law is at the whim of Doflamingo and Trebol, while Luffy still has to deal with Bellamy, who fights to keep his honor even after being released by Doflamingo! Meanwhile, Gladius is about to detonate the ground around Cavendish and Bartolomeo!
A Strong Wind and a Surge! Hakuba vs. Dellinger!
Episode number: 712
Overview: A mysterious force that resembles Cavendish menaces the battlefield - but while it appears to help Bartolomeo and the others at first, it sets its sights on Robin! Meanwhile, the deeply-wounded Ideo sees Dellinger’s horrible true nature!

Barrier-Barrier! Homage God Fist Strikes!
Episode number: 713
Overview: Bartolomeo is in a neck-and-neck battle against Gladius to save Robin, and is faced with an impossible dilemma. With all his options leading to their defeat, can his cunning ploy save the day? Meanwhile, Robin is face to face with Cavendish, but his evil aspect Hakuba keeps complicating the situation more!

The Healing Princess! Save Mansherry!
Episode number: 714
Overview: Princess Mansherry's amazing power - to heal living beings completely - is in the hands of the Donquixote executive. If she is able to heal all the executives who've gone down in battle - the Straw Hats and their allies stand no chance! It's up to Leo to save the day!

The Manly Duel! Señor's Elegy of Love!
Episode number: 715
Overview: Señor Pink and Franky continue their knock-down, drag-out, manly fight. As both of them are pushed to their limits, we learn Señor's tragic past! Meanwhile, Princess Mansherry's rescue hits a snag as she stubbornly refuses to leave!
Stardust of Death! Diamante's Storm of Vicious Attacks!
Episode number: 716
Overview: Franky and Señor Pink end their harrowing duel in a manly way - but victory knocks the wind out of even the winner's sails! Meanwhile, Diamante and Kyros struggle desperately on the Sunflower Field, each demonstrating their extreme prowess even in near defeat!

Trueno Bastardo! Kyros' Furious Strike!
Episode number: 717
Overview: Kyros, unbowed by Diamante's vicious attacks, fights back with the anger and retribution of all of Dressrosa in order to fulfill his promise to protect Rebecca. If he is successful, only a few executives will remain, setting the stage for the Straw Hats' victory.

Moving Across the Ground! The Giant Statue Pica's Surprise Maneuver!
Episode number: 718
Overview: Pica loses his temper and turns his full wrath against King Riku, whom he hopes to destroy, ending the revolution against Doflamingo. Meanwhile, Zoro, who has been distracted by Pica and drawn far from the battle, has to hatch a plan to save the king!
A Decisive Battle in Midair! Zoro's New Special Secret Technique Blasts!
Episode number: 719
Overview: With the lives of King Riku, Usopp, and the others on the old King's Plateau in the balance, Zoro must dig deep and discover a powerful technique to counter Pica's near-unstoppable onslaught. Meanwhile, King Riku ponders what it means to be a good king.
So Long! Bellamy's Farewell Blow!
Episode number: 720
Overview: Zoro finishes off Pica, and those below his crumbling body rush to find shelter. Meanwhile, the Tontattas finish up demolishing the SMILE Factory, and Luffy's hand is forced in his duel with Bellamy!
Law Dies! Luffy's Raging Onslaught!
Episode number: 721
Overview: Taking down Bellamy only enrages Luffy in his fight against Doflamingo, his anger multiplying when he finds Law's lifeless body! Meanwhile, Doflamingo takes the next step to end the game he started, which will endanger everybody in Dressrosa!
A Blade of Tenacity! The Gamma Knife Counterattack!
Episode number: 722
Overview: The Birdcage draws tighter and tighter around Dressrosa, threatening to destroy all life on the island kingdom! Meanwhile, Doflamingo stands down Luffy for a final confrontation, but a surprising twist shocks everyone on the top of the Royal Palace!
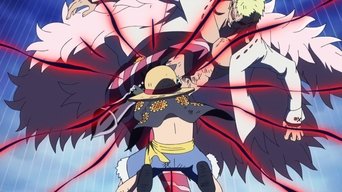
A Collision of Haki! Luffy vs. Doflamingo!
Episode number: 723
Overview: Law's attack proves powerful - but Doflamingo's power has depths which he and Luffy haven't bargained for. When Doflamingo makes his counterattack, Luffy stares him down with an amazing power.

Unassailable! The Stunning Secret of Trebol!
Episode number: 724
Overview: Trebol's wrath is fully inflamed as Law summons enough energy to speak, denouncing the Doflamingo Family executives as pawns in Doflamingo's game. But Law gathers enough energy to do more than just speak out.

Anger Erupts - I'm Going to Take it All on!
Episode number: 725
Overview: Cavendish has to make a difficult decision when the severely wounded Law begs him to be left behind. Meanwhile, seeing even his Second Gear or Third Gear attacks aren't working against Doflamingo, Luffy decides to use his ultimate technique!
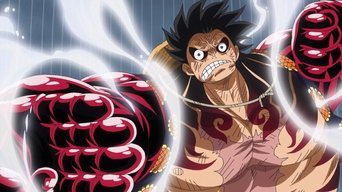
Fourth Gear! The Phenomenal Bounce-man!
Episode number: 726
Overview: Luffy and Doflamingo duke it out while the Birdcage tightens its grip on Dressrosa! Zoro sets off with a plan to stop it from slicing apart the country, while Luffy's Fourth Gear proves quite potent against Doflamingo!

A Massive Counterattack! Doflamingo's Awakening!
Episode number: 727
Overview: The Birdcage continues its merciless constriction, sending the residents of Dressrosa fleeing towards the center of the island, while King Riku calls out to his people: Survive long enough for Luffy to vanquish the last of the royal family - Doflamingo himself!
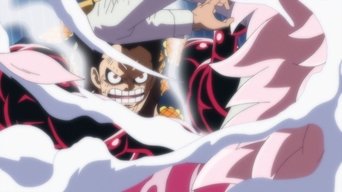
Luffy! An All-Out Leo Bazooka!
Episode number: 728
Overview: Fourth Gear gives Luffy the power he needs to head off Doflamingo at every strike! But the energy required to keep Fourth Gear going starts to take a toll on Luffy. Will he have enough left to finish the job?

Flame Dragon King! Protect Luffy's Life!
Episode number: 729
Overview: Bounce-man's power has drained Luffy, leaving him in need of a rest before he can reuse his Haki, but luckily the gladiators from the Colosseum have come around and are focusing on taking down Doflamingo! Sabo steps in at a crucial moment to defend his brother, Luffy!

Tears of Miracles! Mansherry's Fight!
Episode number: 730
Overview: With Luffy and so many of the Straw Hats' allies incapacitated, victory seems inevitable for Doflamingo - but the compassion of Mansherry may be enough to turn the tide and renew their hope - to stop the Birdcage!

As Long as We Breathe! Stop the Deadly Birdcage!
Episode number: 731
Overview: With just over a minute to spare, everyone in Dressrosa turns their efforts towards slowing down the Birdcage as it squeezes the life out of the country! Meanwhile, Viola seeks Doflamingo out herself, for a shocking confrontation!

Dead or Alive! A Fateful Countdown!
Episode number: 732
Overview: Only a bit more time remains before Luffy returns to the scene! But as time slips by, those who had been roused by Princess Mansherry's powers begin to falter! Meanwhile, Rebecca, under the control of Doflamingo, is about to attack Viola!

Attack on a Celestial! Luffy's King Kong Gun of Anger!
Episode number: 733
Overview: Luffy regains enough Haki to face off against Doflamingo, but his health is still poor. With the Birdcage closing in, is there a technique left in his repertoire that is strong enough to take down Doflamingo?
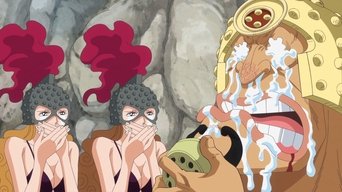
To be Free! Dressrosa's Delight!
Episode number: 734
Overview: With Doflamingo thoroughly quashed and the Birdcage collapsing, the people of Dressrosa shed tears of joy remembering the hardships they've endured, and the actions taken by Luffy and the others to free them.
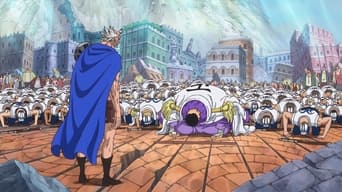
The Unheard-of! Admiral Fujitora's Surprising Decision!
Episode number: 735
Overview: Jesus Burgess of the Blackbeard Pirates tries to agitate Sabo, mocking Ace's final words in order to unsettle him enough that he can try to steal the Flare-Flare Fruit! Meanwhile, people of Dressrosa beg King Riku to resume the crown when Navy Admiral Fujitora steps in and takes a stunning action!

Sending a Shock Wave! The Worst Generation Goes Into Action!
Episode number: 736
Overview: Repercussions of Doflamingo's defeat reverberate around the world! Fujitora's actions put the Navy in a tight spot, and the "Worst Generation" begins to stir into action!

The Birth of the Legend! The Adventures of the Revolutionary Warrior Sabo!
Episode number: 737
Overview: The combatants in the battle for Dressrosa can finally begin to recoup, but those who stay awake are treated to the story of how Sabo joined the Revolutionary Army!
The Brothers' Bond! The Untold Story Behind Luffy and Sabo's Reunion!
Episode number: 738
Overview: Sabo recounts his surprising reunion with Luffy at the Colosseum as the Straw Hats and the others continue to recoup. Meanwhile, Fujitora gambles on how to make his next move - and the odds are in Luffy's favor!
The Strongest Creature! One of the Four Emperors - Kaido, King of the Beasts!
Episode number: 739
Overview: As Sabo departs, our attention shifts to the other Straw Hats waging a fierce battle on a mysterious island. And a new drama is set into motion as ill portents fall from the sky!
Fujitora Takes Action! The Complete Siege of the Straw Hats!
Episode number: 740
Overview: As Luffy and the others begin to come to their senses, major players in the Navy arrive to search Dressrosa for the Straw Hats! Also, Rebecca's history is whitewashed with a fake cover story - but why?
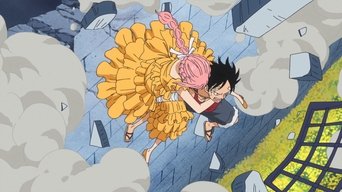
A State of Emergency! Rebecca Is Kidnapped!
Episode number: 741
Overview: Fujitora's flirting with chance has turned out poorly for the Straw Hats as the full Navy force bears down on Dressrosa searching for the pirates! Luffy and the others make a mad dash for the east port to get off the island, but not without finishing up a piece of business...
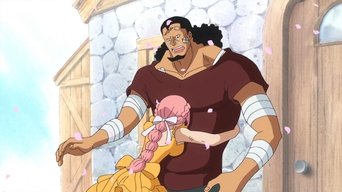
The Bond Between Father and Daughter! Kyros and Rebecca!
Episode number: 742
Overview: Rebecca has precious little time to follow Luffy's lead and make it to Kyros. Can she make it in time? Meanwhile, Fujitora is closing in on Bartolomeo and the other Colosseum warriors while Trafalgar Law faces the shadows of his past!
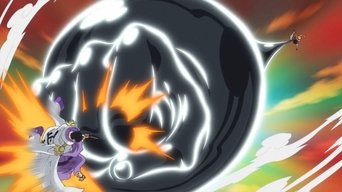
Men's Pride! Luffy vs. Fujitora, Head-to-Head!
Episode number: 743
Overview: Law and Sengoku share memories of Corazon, and the secret of Trafalgar Law's name. Meanwhile, Fujitora uses the destruction caused by the battle in Dressrosa as a weapon, and squares off one-on-one with Luffy!

No Way Out! Admiral Fujitora's Ruthless Pursuit!
Episode number: 744
Overview: The people of Dressrosa show their appreciation to the Straw Hats one last time by foiling Fujitora's strategy. As Luffy and the others are able to finally make their break from the island, however, an unbelievable new chapter opens in the story of the Straw Hat Pirates!

Sons' Cups! Straw Hat Fleet is Formed!
Episode number: 745
Overview: With newfound allies won in the battle at Dressrosa, and as the Navy watches, Luffy and the Straw Hats depart Dressrosa for open water. But will Luffy accept the oath of allegiance given by his new fleet?

The Numerous Rivals Struggle Amongst Themselves! The Raging Monsters of the New World
Episode number: 746
Overview: While the Straw Hats are underway, Doflamingo has serious predictions for the upset of the world order! Meanwhile, the recent actions in Dressrosa have led to surprising results!

The Silver Fortress – The Great Adventures of Luffy and Bart
Episode number: 747
Overview: While heading to the next island, Zou, Luffy’s appetite causes them trouble and he and Bartolomeo find themselves entangled in the scheme of a pirate lord who can manipulate silver.

An Underground Labyrinth – Luffy vs Mine Cart Man
Episode number: 748
Overview: The Tram-Man arrives! And has Luffy, Bartolomeo and Desire on the run! The deeper the three fall into the pit, however, the more clear it becomes that Bill's group hides a terrible secret!